It’s the final day of the One Room Challenge, and I’m thrilled to be revealing two finished rooms here on the blog - my office and my sewing studio. I’ve divided the “reveal” of the finished spaces into two posts because I had so much to say about each.
But first, the background! The Challenge is hosted by Linda of Calling It Home with media partner House Beautiful, and over six weeks many bloggers work to makeover a space (or two) in their home. It’s my first time participating and it was super stressful but amazingly rewarding!

My sewing studio is the most important part of my One (or Two) Room Challenge, because it’s where I sew all the products for my home decor and pet bed business, Janery. As my business grew, our landlord agreed to expand the room using part of our unfinished basement. I then didn’t put any permanent systems into place because I wanted to work in the room and figure out the best layout, etc.
One year later it was definitely time to implement some long-term solutions and systems. Let me give you a tour!
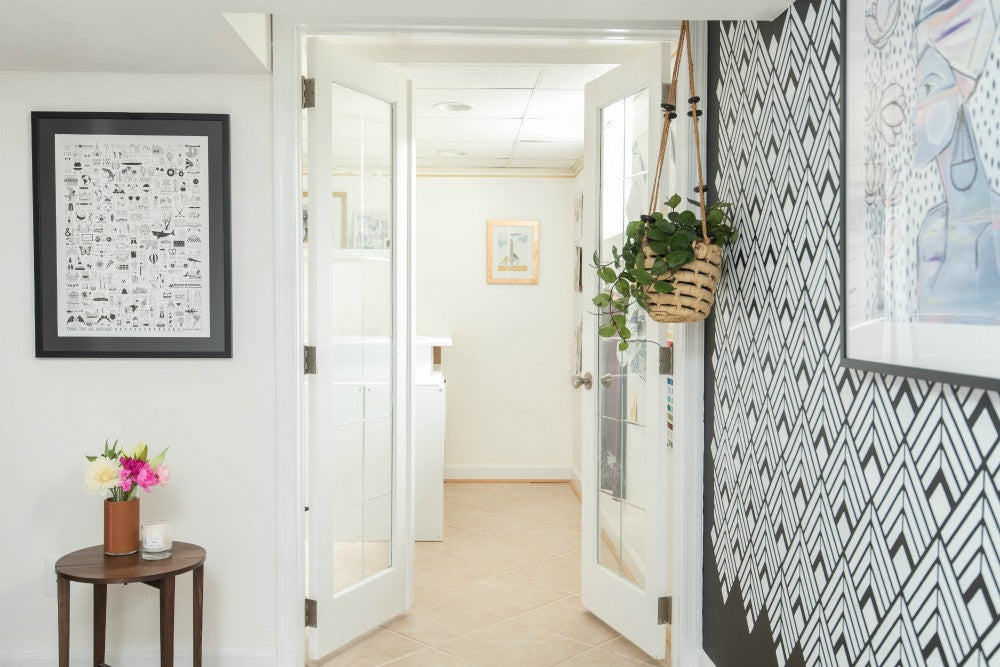
The sewing studio is behind the french doors at one end of our large basement rec room.
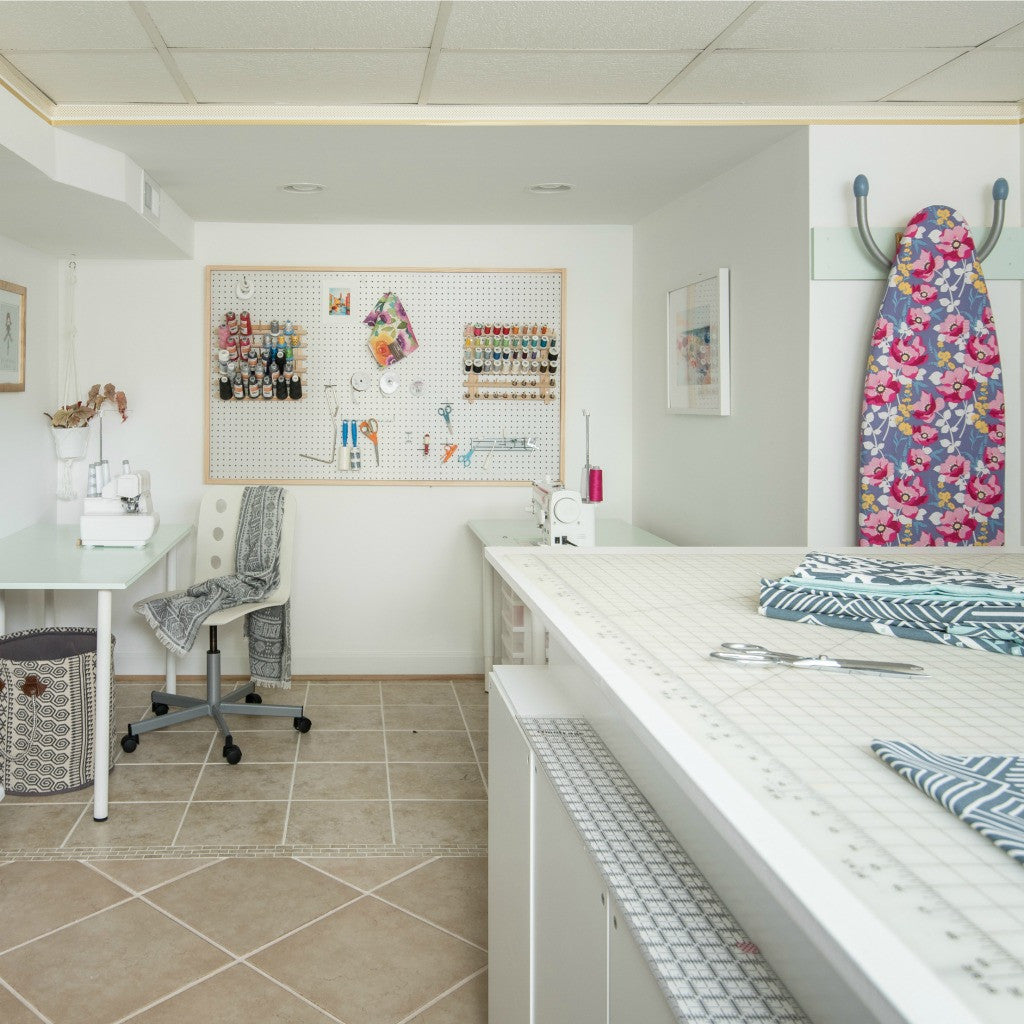
As you enter the room, you see my large and tall fabric cutting table. It's a beast that is about 5 feet square, large enough for me to roll out bolts of fabric.
This was the most important piece of furniture that I built for the space, because it's customized to my hip height. Spending hours cutting fabric can hurt your back if you have to bend over to a normal-height table. (Ask me how I know ;)

I built a picture ledge to hang above the cutting table so that I could display things like my favorite photo of Charlie, who inspired the business, and the covers of magazines that my products have been in.
Oh, and see that gold border around the ceiling? I used gold Washi tape to do that! A perfect renter-friendly solution.
The wall opposite the table has large cork boards made from homasote panels covered in fabric. I use the cork boards to pin up orders, but also fabric swatches I'm eyeing and any magazine pages that make me happy and inspired. (No joke, I've been saving some magazine pages for years just for this cork wall. I also added some strong hooks because some fabrics, like velvet, should be stored hanging so they don't get creases.
The base of my cutting table is a solid block of storage, and though I was unsure at first, I'm now really happy with how it worked out. I took the easy route and built a two-tier table top that fits over a base made with four Ikea Kallax shelving units. It wasn't the cheapest approach to buy 4 Ikea units, but it was the easiest. I don't have time to DIY every single piece of furniture.

I love how the Kallax shelves make my fabric bolts so easily accessible when I'm cutting orders! And I stocked up on square polka dot bins from Target. You can't see it all, but the shelves that don't hold bolts are full of bins holding my lesser-used supplies such as quilting fabrics and materials, and extra rolls of packing tape.
The top tier of the shelves I built, and I made it tall enough to hold my tissue paper and shipping envelopes on the side pictured - while the other side holds shipping boxes.
Below you can see the wall facing the cutting table. The Elfa shelves (from my former office) were the perfect size for this wall, and they hold my bins of fabric scraps as well as my small shipping supplies and stationery.
(See the sewing machine? That's the machine that started it all. . . a generous birthday gift from my husband when we were first dating!)
Having all my shipping supplies within grabbing reach makes a huge difference. If you're running a product business, you need to make the shipping process as easy as possible. Now I can just line up my packages on the cutting table, then grab the hang tags, tagging gun, business cards, package enclosure cards - really everything I put into completing the package.
(My larger products are stored in a private nook in another part of the basement, but they are easy to grab and bring to the studio for packing.)

Psst: Look at the right side of the photo above: my cutting ruler sits on a lip below the cutting table. This is one of those tiny details that actually makes my life SO much easier when I'm cutting from large bolts!
The smaller, nook-like area of the room is the "addition" that our landlord added last spring. It turned out to be the perfect size for the sewing part of the room.

We did a little recycling here, using scraps from an old DIY table as the table tops for my serger and for my sewing machine. The serger got attached to its table with a screw (because it operates at high speed and you don't want it dancing across the table) and my husband built a dropped platform to hold my sewing machine at table height.
These are little details that don't matter aesthetically, but matter from a sewing process standpoint. (I still need to paint the dropped platform for the sewing machine, but no biggie.

Let's chat details for a minute - the pegboard wall storage is another game changer, and I'm sure I'll fill it up over time. A magnetic strip from the hardware store holds my screwdriver and sewing machine feet, and the thread and bobbins are right above it. A plastic drawer unit below the table holds all the zippers I use on a daily basis.
Let's be honest - I'm excited about pretty much everything about this room. Nothing makes work better than having everything you need right where you need it.

Huge thanks to photographer Laura Metzler who does all the product photography for Janery (and makes me feel less silly in front of the lens)!
Also, thank you again to Linda for hosting this challenge. Please be sure to visit the other guest participants - you can find them all here!
![]()